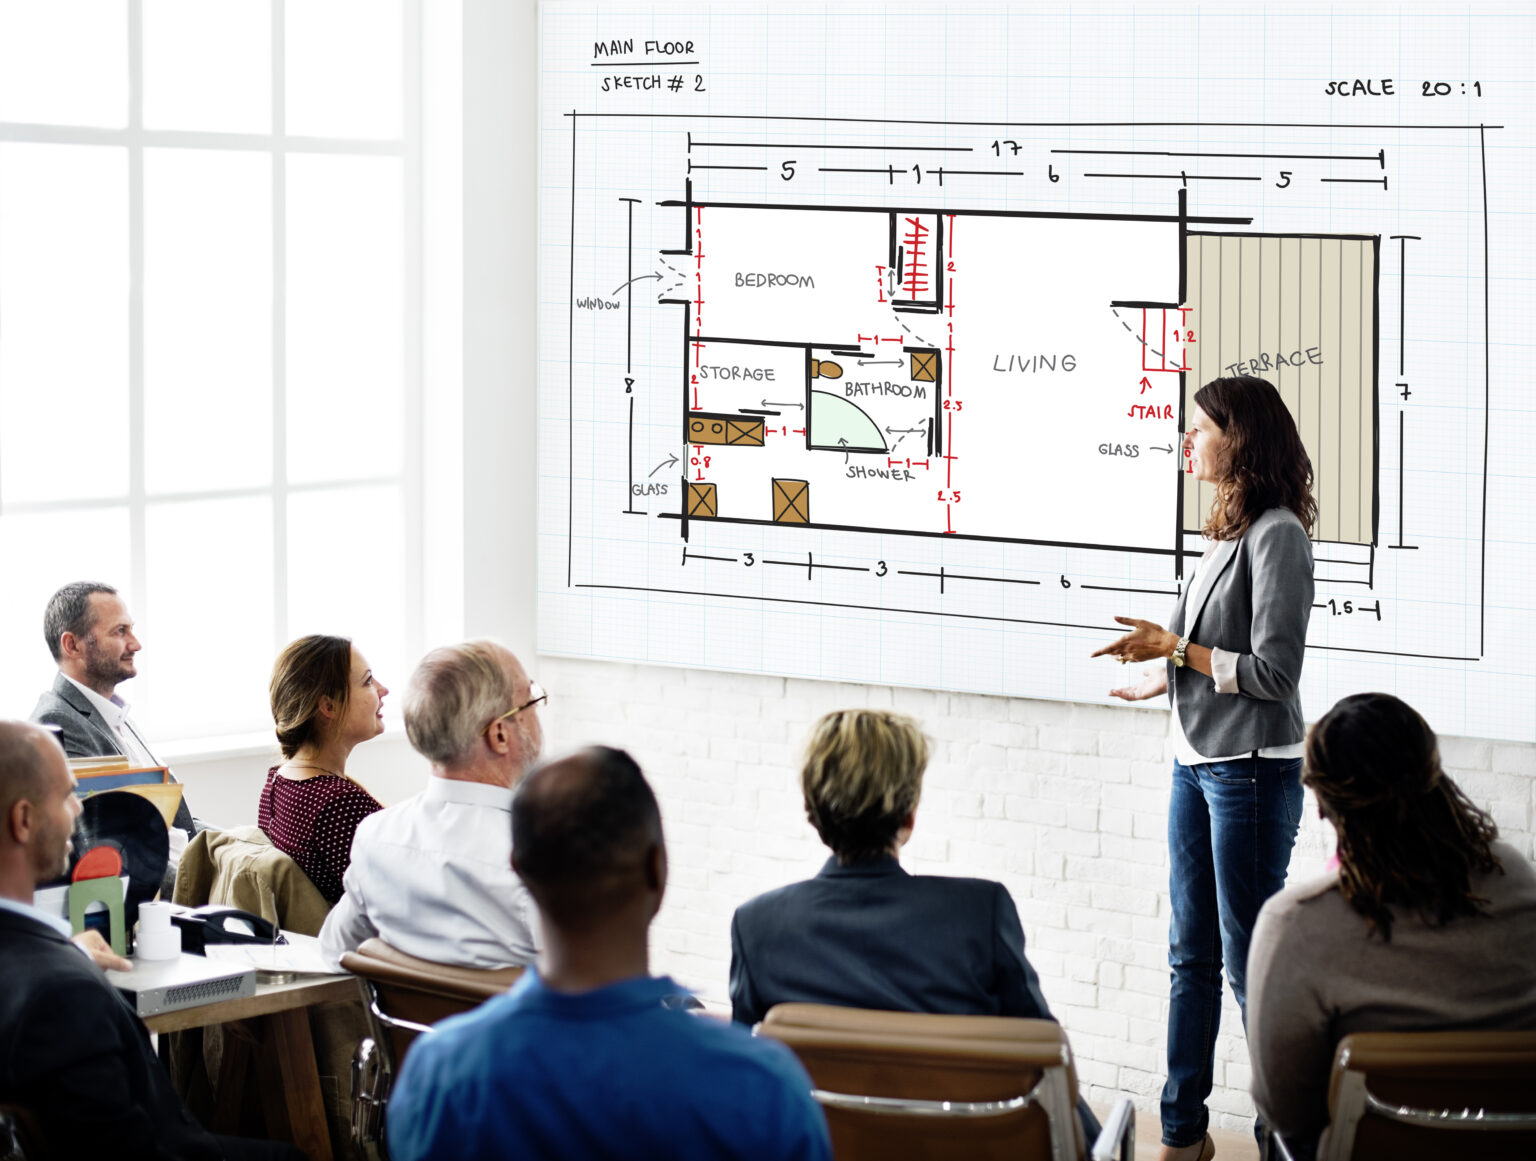
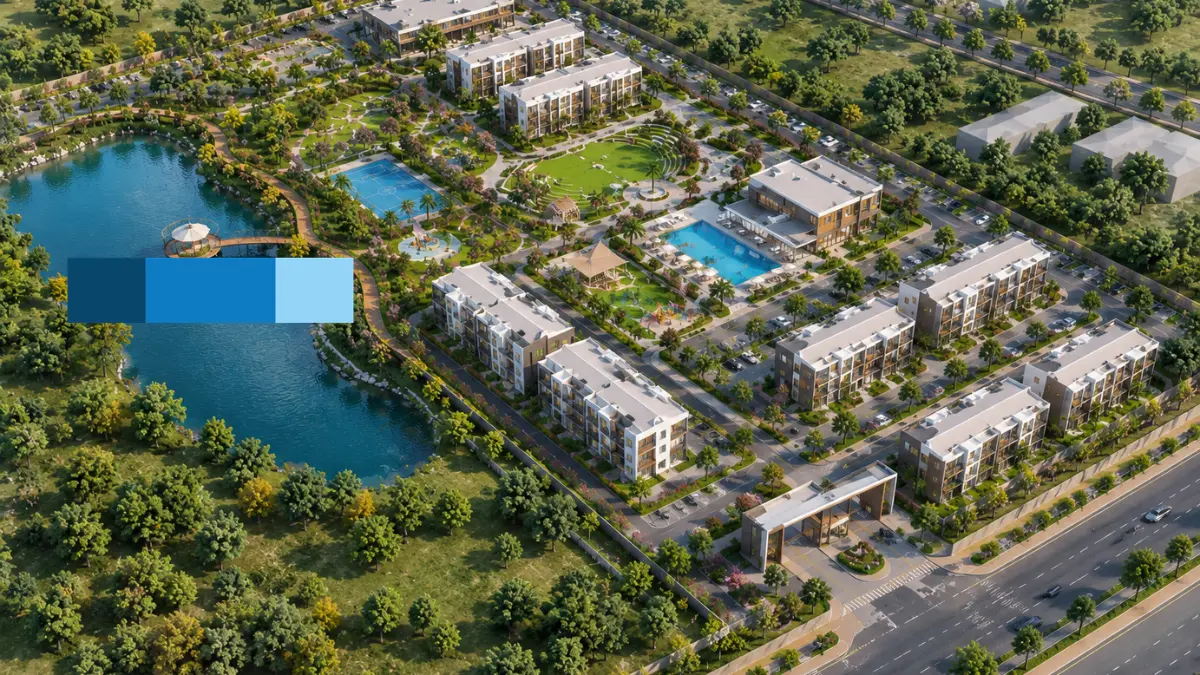
The developer can submit accurate CAD drawings, elevations, and technical documentation; however, the reviewers may still have difficulty imagining what the final development will look like and operate. This disconnects matters because most developers submit proposals to more than one professional group. For example, a developer will check feasibility; an investor is interested in the overall potential; a planner examines context, traffic flow, and relationship to the site; and a client is interested in knowing what the finished development will “feel” like.
The 3D site plan rendering helps to bridge that gap. The rendering takes the technical site information and translates it into one comprehensive visual overview, allowing all participants to have a common understanding of the site. Development visualization is treated here as a decision-making tool, not as a decorative element. This article will help you understand what your 3D rendering for development proposals must include, what level of detail is required, and how to brief a rendering team in order to provide the support needed to allow those reviewing your proposal to make a decision based on your proposal.
Why 3D Site Plan Rendering Matters in a Development Proposal
The purpose of the site plan rendering is not only to make the proposal visually appealing, but also to assist in answering some basic questions for the decision-maker, such as: What is the proposed project? Where are things located on the property? How does the site operate? How does the site fit into the surrounding area? What changes will occur? Where are the main entryways into the site? And what will the development process feel like?
The visual does not help you with finding answers to the above-listed questions as fast as possible; therefore, it is considered a decoration. However, if the visual helps you find answers to the above-listed questions as fast as possible, then it will reduce the amount of time that passes from the initial look at the visual until you are able to have an informed discussion about it.
From Technical Information to Visual Understanding
CAD shop drawings and technical site plans provide precise communication for professionals. Engineers and architects require setbacks, dimensions, and annotations in order to properly evaluate how buildings, roads, and landscaping will interact with one another. However, non-technical stakeholders must interpret symbols, hatches, and line weights to comprehend the physical relationship between buildings, roads, and landscaping. 3D site plan visualization eliminates much of this interpretation because it displays the same information as volumes, surfaces, and spaces.
One Visual Reference for Multiple Stakeholders
An individual site plan rendering may have multiple discussions going on at the same time:
- Developer conversations regarding site performance and scalability
- Investor presentations that are based on an overall vision.
- Planning for conversations regarding accessibility, bulk/size of buildings, and how they fit into their surroundings.
- Presentation of designs for client review focusing on what was intended to be accomplished with the design.
- Design reviews within a team on their projects.
The start of an overall visualization strategy takes place here. Many proposals will ultimately require additional views than what is shown in the site plan, and a provider who has the ability to produce multiple types of 3D rendering services and maintain consistency throughout the project’s lifecycle. When creating architectural visualizations for development purposes, they should be created as a group of images that are related to one another; the site plan should serve as the focal point.
What Decision-Makers Need to See in a 3D Site Plan
Renderings are most useful when they can help you make decisions. They should not be judged on whether or not they look realistic. The following seven criteria are a way to evaluate any 3D site plan.
1. Overall Site Organization
The viewer needs to be able to see the overall development in one shot, including where the property line is located; what each building looks like; which parts of the site are for public use; and how the various parts of the project relate to each other. If someone cannot identify the extent of the site, or how the different elements within it fit together, then they will not find anything useful in the remainder of the image.
2. Building Placement and Massing
Where it matters to the decision maker, density and height should be clearly shown. Additionally, a good quality 3D development rendering will display the true massing of the development in order for a reviewer to determine whether or not the development fits well with its surroundings, as opposed to simply showing how beautiful the lighting makes the development look.
3. Roads, Access and Circulation
Mixed-use and commercial site plan renderings always prompt a question about the placement of vehicular and pedestrian entries and exit. Where are the internal roadways and paths? What is the service access and loading areas? How will the sites’ function? These are all questions that reviewers ask, and the proposed site plan must visualize the answers.
4. Parking and Transportation
Where are the vehicular drop-off and pick-up zones? What is the service, loading, and parking areas? What is the relationship between the parking and the building? What is the site planning and design thinking behind the placement of the parking areas? The points raised by the site plan must be clear and concise.
5. Landscape, Open Space and Amenities
To build beyond the structures, think about trees, lawns, planting zones, courts, pools, parks, and gathering areas. These help people interact with a development. Landscape site plan renderings are organized, clear, and concise, allowing potential clients and investors to understand the project fully.
6. Surrounding Context
Context refers to the surrounding street layout, existing site conditions, adjacent properties, major infrastructure, topography, and natural conditions. Context can also be where oblique plans can be useful. Both the site plan and oblique plan views can be shown using aerial 3D rendering services to help show how a proposed project relates to adjacent conditions. Sometimes, a top-down plan view does not clearly show how the project relates to the surrounding conditions.
7. Development Phasing
When showing a phased project, the existing conditions, phased plans, and future conditions of the project and the surrounding area need to be shown. Development phasing helps to show the sequence of work. A phased plan shows where the oblique plans are needed to most clearly illustrate the relationship between existing and proposed conditions. A clear illustration of phasing helps different stakeholders understand how work will be carried out in different phases.
Match the Rendering to the Decision Being Made
The right image varies with who is deciding and what is being decided. The same site can require different emphases at various stages.
| Decision Stage | What the Visual Should Emphasize |
| Land/development feasibility | Site organization, massing, access, density |
| Design review | Building relationships, circulation, landscape |
| Planning/approval presentation | Context, setbacks, access, massing, site relationships |
| Investor presentation | Overall vision, scale, phases, amenities |
| Pre-launch marketing | Visual appeal, amenities, lifestyle, surrounding context |
| Client presentation | Design intent, materials, spatial relationships |
For Developers
Developers will be checking to see if the site works. Factor in site efficiency, development scale, phasing, access, amenities, and context to inform the early layout decision and feasibility.
For Investors and Lenders
To appeal to investors and lenders, you need to focus on the big picture. Address the project vision and scale, phasing, access, and context to convey what they will be investing in, and how it may grow.
For Planning and Approval Discussions
Focus on the site and nearby context for massing, circulation, parking, and landscape. While a clear visual may provide stakeholders a starting point for proposal interpretation and discussion, it should not be shown as a means to an approval. The image is just a communication aid, and compliance cases will be made through other documents.
3D Site Plan vs. 2D Site Plan: Which Should a Development Proposal Use?
Most proposals have both parts. The question is which element conveys which part of the message.
| Factor | 2D Site Plan | 3D Site Plan Rendering |
| Technical documentation | Excellent | Supporting visual |
| Dimensions | Strong | Visual representation |
| Building relationships | Requires interpretation | Immediately visible |
| Landscape | Symbolic | Visually understandable |
| Context | Limited, depending on drawing | Can be integrated |
| Non-technical audience | More difficult | Easier to interpret |
| Investor presentation | Limited | Strong |
| Marketing | Limited | Strong |
| Planning communication | Useful | Useful as supporting visualization |
The most important thing to understand is that a rendering isn’t a substitute for technical documentation. Two-dimensional plans communicate technical information, and a rendered site plan communicates spatial relationships and visual intent. Use your two-dimensional drawings to communicate the details and the site plan 3D rendering to illustrate them. In the strongest proposals, the two are consistent, so the drawings never contradict the visuals that support them.
When an Aerial View Is Better Than a Traditional Site Plan View
Views from above allow for clear communication about how site elements such as buildings, parking, and landscape are organized. These views communicate like a plan, only richer.
An oblique aerial 3D rendering shows building elevations and provides an understanding of the site and the project in the context of the surrounding environment. It provides a strong graphic for a presentation and marketing effort because the audience interprets the view the way they would interpret their surroundings in the real world.
An aerial view shows scale, fit, and relationships to surrounding development. If a project is especially complex, circulation may be best communicated using an aerial site plan rendering view to provide a clear organization of elements. Coupling a site plan view with an aerial site plan view helps address the needs of various audiences.
How Much Detail Should a Development Proposal Rendering Include?
More detail does not inherently lead to a better rendering. The right level of detail is dependent on the development stage and the particular decision being made.
Essential Detail
Every 3D site plan visualization must include essential detail to adequately illustrate the building massing, site roads and parking, major landscape elements, site boundaries, important on-site and adjacent amenities, and pertinent context.
Presentation-Level Detail
For investor presentations, marketing collateral or other client materials, richer detail can be added to site elements, landscaping and other site furnishings. The addition of figures and vehicles creates a sense of activity and helps to communicate a sense of place and use.
Avoid Unnecessary Detail
Do not over-render. SKIP site elements and surrounding context that are irrelevant to the decision being made, decorative elements that could cover relevant site information, and extremely fine detail, textures, and materials for an early-stage review. In 3D rendering for development proposals, cinematic realism is often not required, and information hierarchy, scale, accuracy, and clarity are often more important. Details must be scoped to the decision being made.
What Information Should You Provide to a 3D Rendering Team?
The best inputs speed up the process and lessen the need for revisions.
Core Project Information
Contributions: CAD or site plan files, PDFs, Revit files if available, building footprints, elevations, landscape plans, topographic or survey information, site photos, material references, and existing-condition information. A 3D site plan can be generated from numerous sources, including CAD files, sketches, and architectural plans. Therefore, incomplete information is still workable, but more sources lead to greater accuracy.
Proposal Requirements
State the audience, the date of the presentation, the size of the images required, the number of views requested, the desired camera positions, the labels required, the phasing, the branding requirements, and the planned use of the deliverables. Knowing these allows the team to understand the decision the audience is required to make and therefore bring the most relevant information to the front.
How to Choose the Right 3D Site Plan Rendering Service
Once you’ve defined the role your image must play, assess potential providers based on that requirement. An appropriate partner who offers 3D site plan rendering services would be able to:
- Work with architectural, CAD, and BIM info
- Maintain site accuracy and understand architectural scale.
- Work with large development sites.
- Show commercial site circulation.
- Model topography and landscape
- Show different viewpoints as needed.
- Adapt detail to the purpose of the project.
- Systematically manage revisions
- Provide finished, print-ready files.
Request to see samples of how a provider handled revisions, site accuracy, and site alignment on comparable projects to assess whether they meet your standards for quality. Most importantly, a good real estate site plan rendering should first and foremost communicate site accuracy and secondarily should be attractive.
When a Development Proposal Needs More Than a Site Plan
Visuals for larger proposals may require more package views, e.g., site plan, aerial view, exteriors, interiors, views, floor plan visualization, and amenity views. Sometimes the proposal is also required to illustrate how the buildings will appear at the street level, and in those cases, 3D exterior rendering services extend the site plan to the street-level view. If the proposal includes lobbies, clubhouses, and/or model units, 3D interior rendering services complete the visuals.
The key to successful proposal visuals is consistency. All images in a package should have a unified appearance in terms of building materials, colors, landscape, lighting, site context, and other elements so that the visuals reflect one cohesive project.
A Proposal-Ready 3D Site Plan Checklist
Make sure your visual shows the following:
- Boundaries of the site.
- Building position.
- Building scale and massing.
- Roads and access.
- Parking.
- Major pedestrian routes.
- Landscape.
- Amenities.
- Topography and site conditions where relevant.
- Surrounding context.
- Relevant development phases.
- Important legend.
- Appropriate angle of view.
- Appropriate level of detail.
- Consistency with source drawings.
If you show all of the above, your visual shows what a 3D site plan illustrates.
Final Takeaway: Build the Visual Around the Decision
An appealing 3D Architectural Rendering Services is more than just making an architectural drawing look photorealistic. The goal is to provide information that lets the audience understand the particulars of the proposal. This includes how the site functions, how people and vehicles move through it, what surrounds it, how it will change over time, and why it deserves to be taken a step further.
If you’re working on a development proposal, reach out to McLine Studios and show us your site plan, project scope, and the way you intend to present it. We can provide the best site plan rendering services to fit your project.