
The foundation for an efficient 3D exterior rendering takes place long before the first model of the plan is created. Architects, real estate developers, and construction professionals must clearly share their design goals, so the final visuals match the building being proposed. This includes the building’s materials, its surroundings, and how it fits into the environment. Unwarranted misunderstandings can delay project completion. Sometimes the brief is not prepared in the right way. However, in certain cases where details like site condition, proper camera angles, and landscaping information are missing, revisions become necessary, and this leads to delays.
What does a detailed 3D exterior rendering do? It simply connects your architectural drawings to realistic visuals. It tells the rendering team what the project is about, which views you need, what materials you want, and what the area around the building looks like. Whether you’re working on a home, a commercial building, or a large proposal, sharing the right information at the start makes the whole process smoother. If you plan to outsource the work, professional 3D exterior rendering services can turn your drawings into accurate, presentation-ready images. Still, the quality of the result depends a lot on how clearly, you share your requirements.
Define the Purpose of Your Exterior Rendering
Before you share any drawings or reference images, think about why you need the 3D exterior rendering. The purpose shapes the camera angles, the level of detail, the lighting, and how realistic the final image needs to be. For example, an architect preparing visuals for a client presentation will probably care most about facade details and the proportions of the building. On the other hand, to illustrate the right and bigger picture of a residential community, a developer marketing team may need aerial views, landscaping, and other amenities that are present in the surroundings.
The reasons are:
- Architectural design presentations: Show the building’s form, facade, materials, and finer details.
- Real estate marketing: Show how the property looks, along with the landscaping, outdoor spaces, and the neighborhood around it.
- Proposal for the commercial development: It explicitly explains how the construction of a building will appear after considering nearby structures.
It is helpful for any individual if it is made clear who the images are for. Investors usually want to see the potential of a development while architects tend to look closely at design accuracy and material choices. In the brief, mention the audience, the stage the project’s at, and what the presentation wants to achieve. This gives the rendering team an idea of the right visual approach, from the start.
Specify the Exterior Views and Camera Angles
Where you place the camera decides which parts of the building and site show up in the final image. One view rarely tells the whole story, especially if your project has several buildings, entrances, or outdoor spaces. So in your 3D Exterior Rendering brief, list the views you need and explain what each image should show.
Front and Street-Level Views
To showcase the entrance of a building and the characteristics of a building, along with the main elevation and the windows, a front view is necessary. It works well for homes, commercial buildings, and client presentations. A street-level view goes a step further and shows how people actually see the building when they walk or drive past. Let the team know what you want to focus on, whether that’s the main entrance, the storefront, the facade design, or how the building meets the sidewalk.
Three-Quarter and Corner Views
A three-quarter view shows two sides of the building at the same time. A three-quarter view gives an idea of the building’s size, depth, and shape. A three-quarter view also shows how the front of the building changes from one side to the other. I find that a three-quarter view helps me understand the building’s character. Three-Quarter view and corner views are especially useful for corner properties and commercial projects where more than one side matters.
Aerial and Bird’s-Eye Views
An aerial view gives a view of the development and shows how the development fits into its surroundings. An aerial view can show where buildings sit, along with parking areas, internal roads, green spaces, and neighboring structures. I notice that an aerial view provides a picture of the whole site. For projects, an aerial 3D rendering service is a great way to present the whole site from above.
Entrance and Detail Views
Some features deserve a closer look. Entrances, canopies, balconies, windows, exterior lighting, and facade details may each need their own image. Point these out in your brief so the team can plan enough views to cover them.
How to Share Camera Positions
Instead of explaining camera locations only in words, mark your preferred spots on a site plan or architectural drawing. For each view, try to include:
- Where the camera should be and which way it should face.
- Roughly how high the camera should be.
- Which building sides need to be shown.
- The type of perspective and what should be the main focus.
- Any important features that must stay visible.
Even a simple marked-up site plan can clear up confusion and save you from extra rounds of camera changes.
Provide Accurate Exterior Material Specifications
Materials have a big effect on how real and believable a rendering looks. Every finish reflects light in its own way, and the texture, color, and amount of each material changes how people see the building. So your 3D exterior rendering brief should list the materials planned for the building and include references wherever you can.
Facade Materials and Finishes
Mention the materials used on each exterior surface, such as:
- Brick and stone cladding
- Concrete and exposed finishes
- Aluminum and metal panels
- Glass curtain walls and glazing
- Timber cladding and decorative elements
- Exterior paint and textured coatings
Try not to use vague descriptions like “dark stone,” “modern glass,” or “wooden finish.” Everyone imagines something different. To make the team understand better what you exactly want to express, share with them the product reference, finish codes, or photos.
Glass, Metal, Wood, and Surface Details
Some materials need a little extra detail:
- Glass: the color, how clear or tinted it is, and how reflective it should look
- Metal: the finish, texture, and color
- Timber: the type of grain, the tone, and the surface treatment
These details help the final image match your actual design.
Color Codes and Reference Images
Whenever you can, share manufacturer references, product specifications, approved samples, or mood boards. They remove a lot of guesswork.
A simple material schedule can also keep everything organized:
| Exterior walls | Material type, color, and finish |
| Windows | Frame material, color, and glazing type |
| Roof | Roofing material, texture, and color |
| Entrance | Door material, finish, and hardware |
| Balcony | Railing material and finish |
| Cladding | Product reference, dimensions, and texture |
If some materials aren’t final yet, list the options you’re considering. Make it clear which finishes are approved and which might still change, so the rendering team knows where they can be flexible.
Explain the Site Context and Surrounding Environment
A building shouldn’t be shown all alone when its surroundings matter to the presentation. Roads, nearby buildings, plants, parking areas, and outdoor spaces all shape how a development looks and how people understand it. So your 3D Exterior Rendering brief should explain how much of the surrounding area needs to appear in the rendering.
Neighboring Buildings and Surrounding Structures
Inform the team about which nearby buildings should appear in the image. In city projects, nearby buildings play a role in how the scene looks, how big things seem, and how the new building blends in with the neighborhood. Providing clear pictures of the reference images and the site maps tells the team where the surrounding buildings are located and what they look like. For these projects, 3D visualization for urban development projects can show the building right next to streets, public spaces, and existing buildings around it.
Landscaping and Hardscape
Landscaping is more than making things look nice. It is a part of the design of the place. It showcases different information about the surroundings, including paths and walkways for people to use, places to sit, and areas where people can gather. And not only these, but it also shows surfaces made of paving, stones, or concrete, and fences and walls that mark the edge of the property and other outdoor features. If your project includes outside areas, landscape rendering for commercial buildings can be a useful tool. It shows how plants, hard surfaces, and nearby buildings fit together.
If your project includes outside areas, landscape rendering for commercial buildings can be a useful tool. It shows how plants, hard surfaces, and nearby buildings fit together. If you want images of spaces, McLine Studios also provides landscape rendering for commercial developments.
Roads, Sidewalks, and Access Points
Commercial and mixed-use projects often need more detail here. Let the team know about vehicle entrances, pedestrian access, internal roads, sidewalks, crosswalks, parking spaces, and drop-off areas. When the link between the building and the public space around it is important, streetscape rendering services can show these connections through realistic street-level scenes.
The goal is simple: the final image should show clearly how your building fits in with, and works alongside, everything around it.
Share Architectural Drawings and Project Files
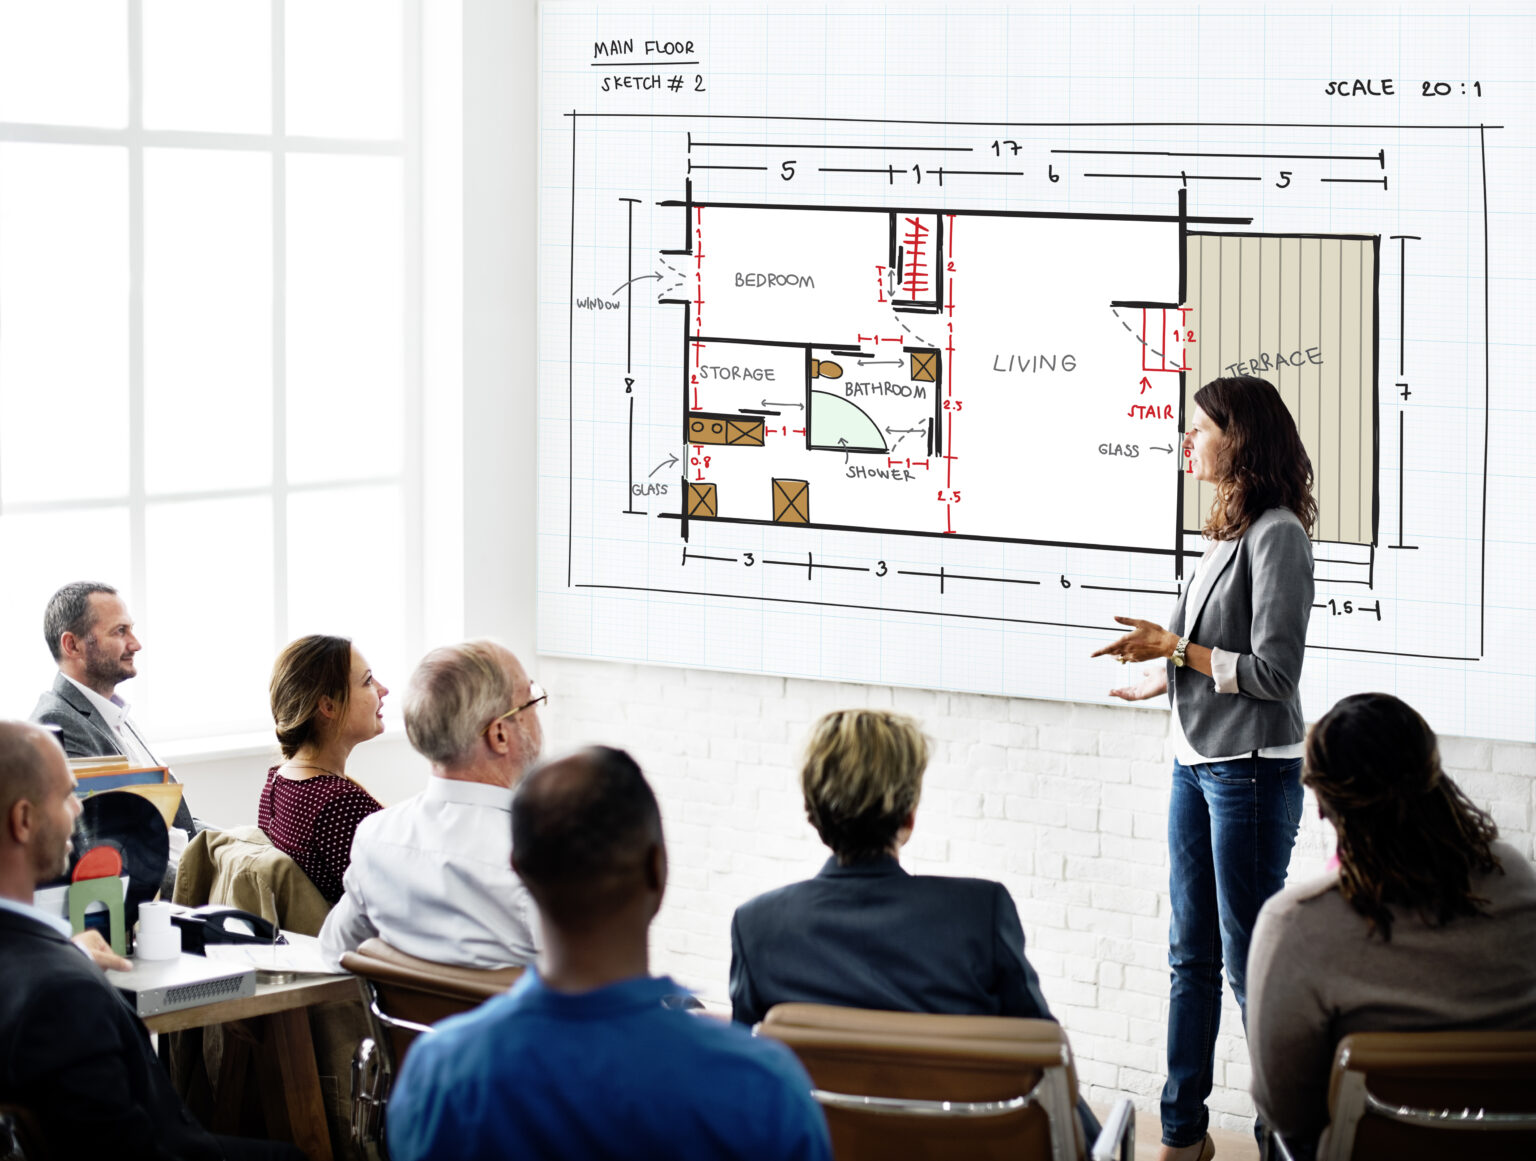
For any 3D exterior rendering model that wants to be accurate, it needs to be supported by accurate drawings. Incomplete or outdated files will affect rendering negatively and get mismatched with the required results. Before you send your brief, collect the latest project documents and note which revision each one is.
Essential Architectural Documents
These files are usually the most helpful:
| Document | Why It Helps |
| Floor Plans | Show the building layout and how spaces are arranged. |
| Elevations | Show the facade, openings, and heights. |
| Sections | Explain the levels and how they relate vertically. |
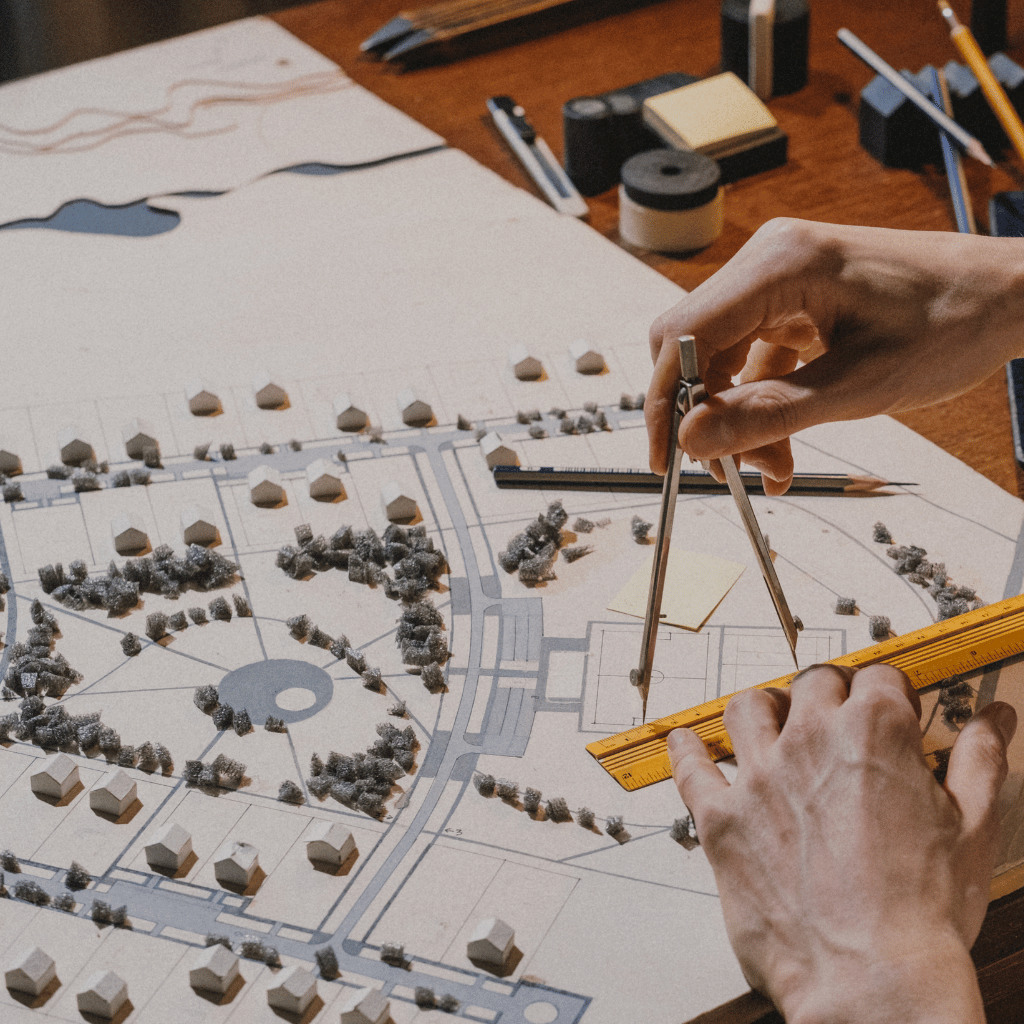
| Site Plans | Show where the building sits and what surrounds it. |
| Landscape Drawings | Define planting, paving, and outdoor elements. |
| Material Schedules | List the finishes and surface treatments. |
| Reference Photographs | Show your design preferences and the conditions on site. |
CAD and BIM Files
If you have them, share editable DWG files, Revit models, SketchUp files, or any other 3D models. They help the rendering team understand the building’s shape and details much faster. If you’re working with an architectural firm or a commercial developer, make sure every drawing you send comes from the same design revision. Mixed versions are a common source of mistakes. For different project types, commercial rendering services and residential exterior rendering services can support your visualization needs.
Reference Images and Design Notes
Reference photos are very useful when drawings can’t show how something should look. Share examples of facade styles, window treatments, material combinations, landscape layouts, and lighting you like. Then add notes to point out exactly which parts the team should follow. That way, they won’t mistake an unrelated detail in the photo for a project requirement.
Specify Lighting, Weather, and Visual Atmosphere
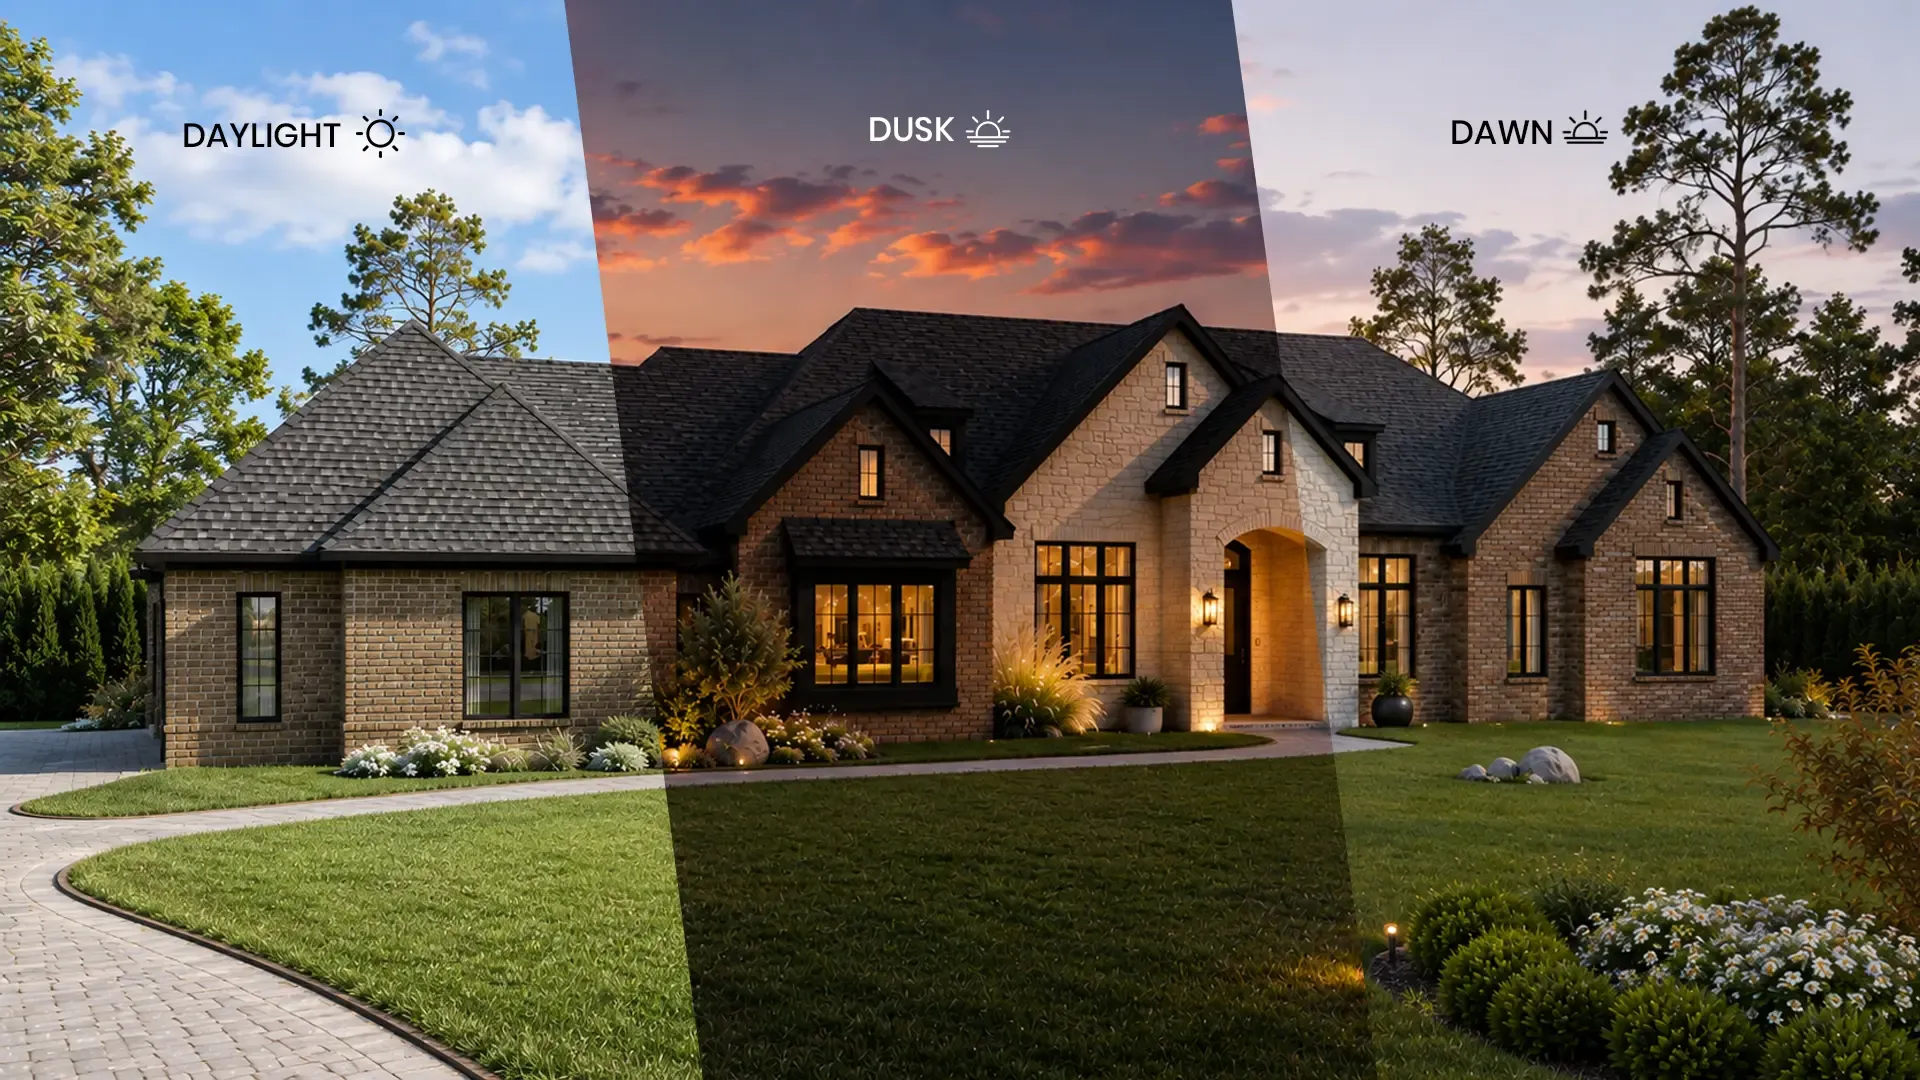
Light changes how a building looks in the final image. The same design can feel completely different in bright daylight, at sunset, or at night. So, in your brief, tell us what time of day you want and what mood you’re going for.
Daylight and Golden-Hour Views
Daylight shows your building clearly. You can see its shape, the facade materials, and the full design without any guesswork. It works especially well for marketing images and residential projects.
Views for Night and Dusk
Images related to evening and night provide better clarity to people about the buildings and surroundings. Glowing entrances, lit windows, signage, and landscape lighting all stand out. For commercial projects, these views also show how the space looks after business hours.
Weather and Seasons
Let the teams know what kind of conditions you’d like, such as clear skies, soft clouds, or a certain season. This matters most when your project has a lot of greenery, since plants and outdoor spaces look very different from one season to the next. If you have reference photos, please share them. They help us understand your idea much faster. Whatever lighting you choose, it should support the goal of your presentation and never hide any important part of the design.
Confirm Deliverables, Revisions, and Approval Requirements
A good rendering brief explains what you want to see, and also what you expect to receive from the rendering team. When deliverables are clear from the start, there are fewer misunderstandings during production and review.
Image Size and File Format
Tell us the image size, resolution, orientation, and file format you need. For example, a developer making a marketing brochure may need high-resolution landscape images. An architect preparing a digital presentation may need a few extra views.
Camera and Material Approval
It’s best to review camera positions before detailed rendering begins. This helps you avoid big changes to the composition later. In the same way, please confirm your material references before the final rendering stage.
- Approve the model.
- Finalize the camera views.
- Pay attention to materials.
- Check the textures and lighting.
- Receive the draft rendering.
- Share all feedback and request revisions.
- Receive the final rendering.
- Revision Expectations.
Decide who will review the images and collect all feedback. Architects, developers, landscape designers, and marketing teams often want different things. When one person gathers all the comments, it’s easier to avoid conflicting instructions. Before production starts, it also helps to agree on a few things: how many revision rounds are included, what extra revisions will cost, and when you expect the work to be delivered.
Get Professional Exterior 3D Rendering Support from McLine Studios.
A good brief gets us started. But turning drawings, material samples, and site notes into a render that feels real takes more than software. It takes an eye for how buildings actually come together.
At McLine Studios, we create 3D Exterior Rendering Services for architects, developers, builders, and designers. You send us your drawings, CAD files, 3D models, and reference images, and we build visuals that show your project and its surroundings the way you imagined them. Whether it’s a single-family home, a commercial building, or a large development, we’ll help you present your design with confidence.
What We Pay Attention To
- Accurate form and proportions, so the building looks like your design, not a rough guess.
- Materials that feel real, from brick texture to glass reflections to the finish on a timber panel.
- Thoughtful camera angles that show the project at its best.
- Landscaping and context, so your site feels like a real place.
- Natural light and shadow, plus the small details that make an image believable.
- A cohesive look across every image, so your full set feels like one story.
Our professional exterior 3D rendering services are built to make your ideas easy for clients, buyers, and planning teams to understand at a glance. Got a project on the horizon? Send over your drawings, material references, and any requirements you have. We’ll talk through the best way to bring it to life.
Contact McLine Studios to discuss your rendering requirements.
Frequently Asked Questions
Start with what you already have: floor plans, elevations, sections, and the site plan. If you’ve got photos of buildings you love, a rough idea of where you want the camera, or notes on finishes, toss those in too. And if there’s a Revit model, CAD files, landscape drawings, or a survey sitting somewhere, those help a lot.
Think about who will be looking at them. For a house, two views usually tell the story: straight on, and an angled shot that shows depth. For a bigger commercial project, you’ll probably want more, like a view from the street, one from above, a close-up of the entrance, and something that shows the neighborhood around it. Not sure? Tell us the goal, and we’ll point you to the right mix.
Most of the usual ones: DWG, PDF, Revit, SketchUp. If yours is something else, ask us, because there’s a good chance it’ll work. The one thing that matters most is that the drawings are current. Old versions are the quickest way to end up redoing things.
Show us, don’t just tell us. Send finish schedules, product links, color codes, or photos, and mention if you have physical samples. Then say where each one goes: brick on the walls, metal on the roof, wood around the windows, and so on. That way we’re never guessing.
It does. A building looks different next to a busy road, a row of houses, or a line of trees. Including the neighboring buildings, streets, landscaping, and paths helps everyone picture how the project will really feel once it’s built, and it makes the image far more convincing.
Absolutely. We can mock up a few options so you can compare them. Just be sure they’re clearly labeled as options, so a draft look doesn’t get mistaken for the final choice down the line.
Most of it comes down to preparation. Give us the latest drawings, mark where you want the cameras, confirm your materials, and pull everyone’s comments together before sending them over. It also pays to check the early model and camera angles before the final render, because changes at that stage are quick and cheap.