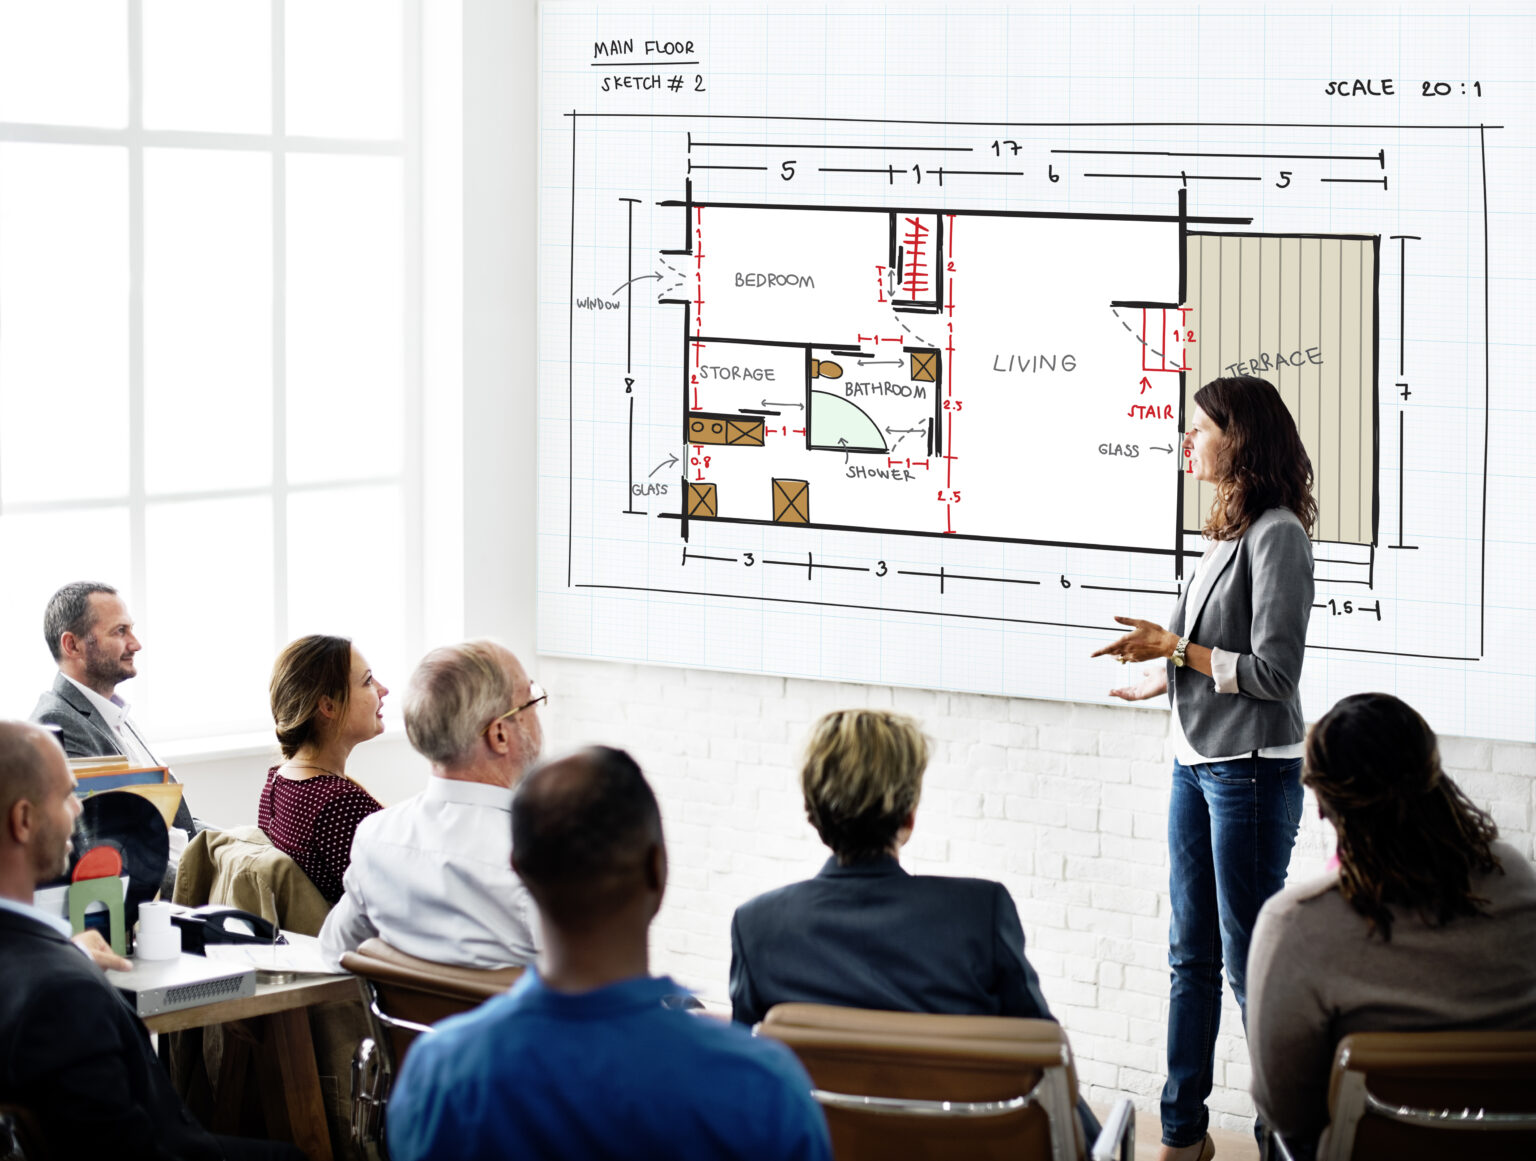
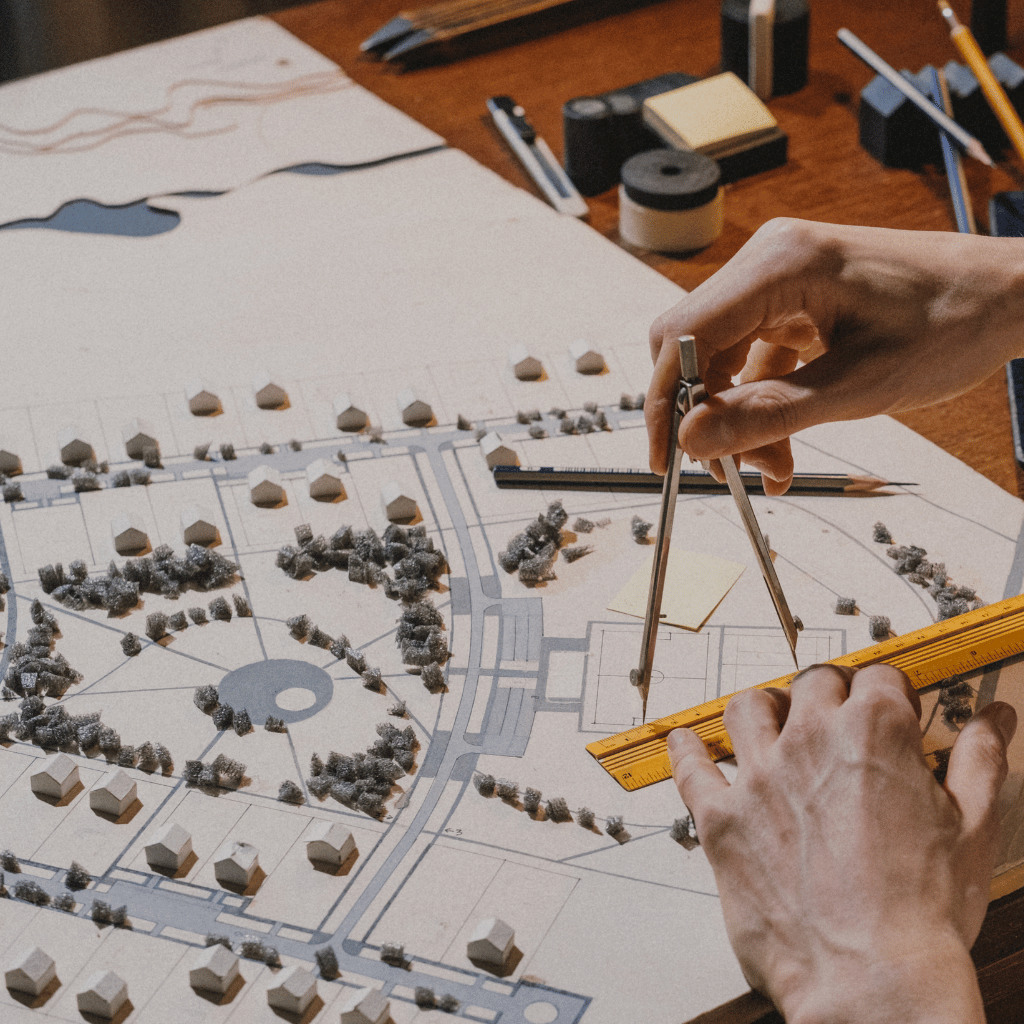
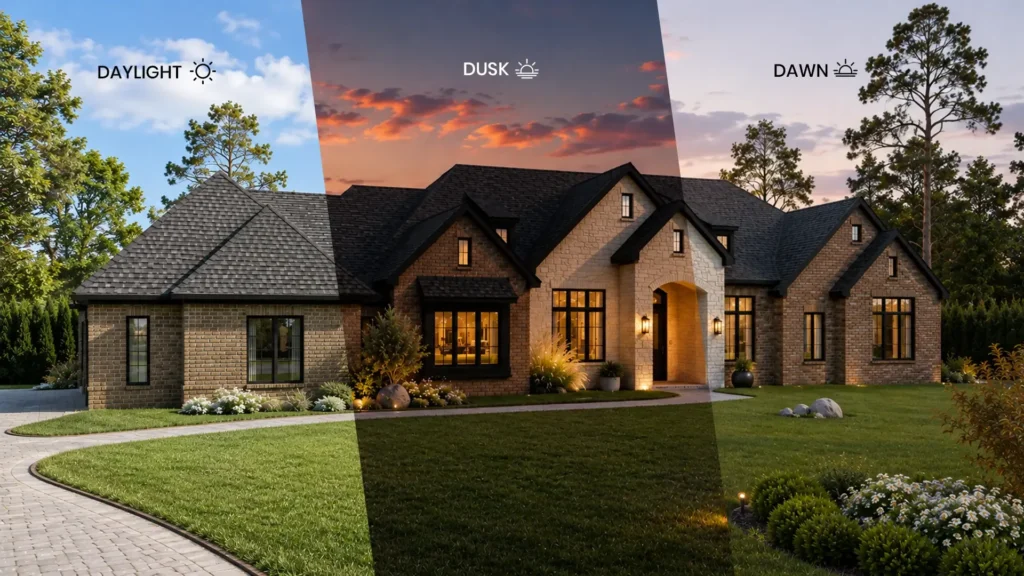
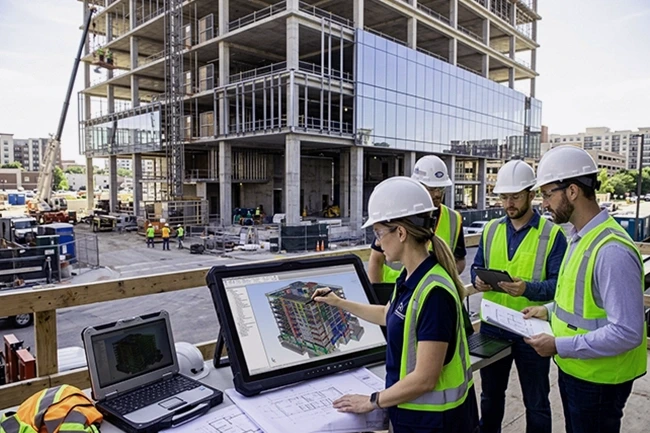
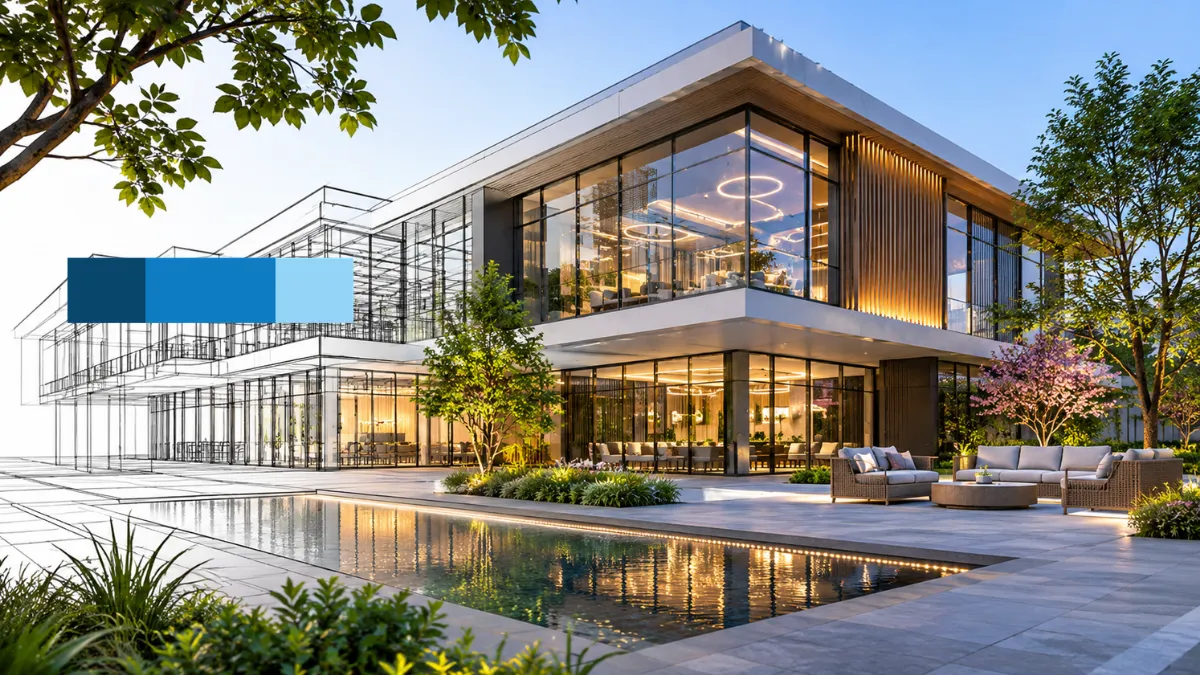
In urban areas, infrastructure projects are not just about one building. They include streets, nearby buildings, walkways, public spaces, plants, and transport links. Together, these shape how people feel in a place. But it’s hard to show how a new project fits into all of this when people only have plans, elevations, and technical drawings. 3D Visualization fixes this problem. It turns design information into clear, realistic images that anyone can understand. Architects, developers, and planners can use it to show how a new building sits next to the old ones, how people might walk through a public space, and what the whole project could look like when it’s done.
If your project includes streets and public areas, Streetscape Rendering Services can show how the new architecture connects with its surroundings. More broadly, 3D Architectural Rendering Services turn design details into visuals that clients, investors, and planning teams find easier to follow. Good visualization isn’t just about making a project look nice. It’s about showing the design idea, the real site conditions, and helping people judge the project in context.
What Should 3D Visualization Communicate in an Urban Development Project?
A good visual should show more than the look of single buildings. It allows people to analyze how a design fits into the surroundings and what is going to be changed on the site. What you show depends on the goal of the project, its stage, and who is looking. So plan the 3D Visualization around the decisions people need to make, not just around how detailed the image is.
Communicating the Proposed Development to Decision-Makers
Developers, architects, investors, and planning authorities often care about different things. Developers want to share the big idea. Architects look at the design, materials, and how spaces relate. Planning teams want to know how the project connects to nearby streets, access routes, and public areas. A well-planned 3D Visualization makes all of these links easier to read. Take a mixed-use project. The project may showcase homes, shops, parking, and other amenities and spaces. When all these things are shown together, people are able to analyze the bigger picture and understand how all of these together add to the whole project.
Showing Relationships Between Buildings and Public Spaces
Where you place a building changes how streets, sidewalks, plazas, and open areas work. So a visual should show how entrances link to walkways, how ground-floor spaces meet the sidewalk, and where the open spaces sit. This shows how the whole project is organized, instead of treating each building as a lone object. It also helps people picture what it will feel like to be there.
Key Elements to Include in Urban Development Visualization
What you include should match the size of the project and what you want to say. Still, some parts matter in almost every urban proposal. A complete 3D Visualization should include the features that explain how the project fits into its physical and everyday surroundings.
Proposed Buildings and Surrounding Architecture
Buildings set the scale, style, and identity of a development. Show the new buildings next to the surrounding ones that matter. That way, people can judge proportions, spacing, street frontage, and how the new project sits within the neighborhood. If the facade and materials are a big part of the design, 3D Exterior Rendering Services can show the exterior look, finishes, entrances, and small details in context.
Streets, Sidewalks, and Pedestrian Circulation
Roads and walkways are parts of an urban project. The visual should show how cars, cyclists, and people on foot will use the site. I want the project to include sidewalk widths, walking paths, crosswalks, street junctions, bike lanes, cycle links, entry points, driveways, for vehicles, public transport stops, building entrances and pedestrian links. These details show how people will get to the project and move around it. They also help people check whether the layout connects well with the streets nearby. Putting these movement details into a 3D Visualization makes the link between the project and its streets much easier to grasp than separate drawings do.
Showing Existing Conditions and Proposed Urban Changes Clearly
One of the most important jobs of 3D Visualization is helping people tell what’s already there from what the project plans to change. An image can look very convincing and still cause confusion if existing buildings, new structures, and concept-level landscaping all look the same. Your visual should make the status of each key element clear, especially while the project is still under review.
Representing Existing Buildings and Site Conditions
It is important for any new project to be prepared against the existing conditions. As per the project requirements, there must be amenities like buildings, roads, sidewalks, and parking areas. You can build this from architectural drawings, site plans, photos, survey data, and any digital models you have. How much detail you add should depend on what the project needs and how reliable the information is.
Don’t add made-up site details just to make an image feel complete. If some information is missing or uncertain, say so clearly in the presentation.
Separating the Design from the Surroundings
This matters most when the project is still at the concept or planning stage. Clear labels, notes, different visual styles, or side-by-side views can show:
- Existing site conditions.
- Where the new buildings go and their general shape.
- New walking and vehicle connections.
- Proposed landscape improvements.
- Other possible ways to arrange the development.
It is important to explain whether an image shows an early concept, a set of design options, or a final proposed design. It also suggests using several viewpoints where possible, since this helps people understand better. This keeps an early idea from looking like every detail has been decided or approved. It also helps the 3D Visualization support honest discussion, instead of setting unrealistic expectations about how the project will end up looking.
Choosing the Right Views for Urban Development Visualization
One camera angle rarely shows everything about an urban project. The right views depend on what people need to understand. Picking viewpoints is a key part of planning 3D visualization because each angle shows a different side of the project.
Street-Level Perspectives
Street-level views show what the project feels like from a walker’s point of view. They can show entrances, ground-floor activity, facades, sidewalks, street trees, and public spaces. These views work well for explaining how a project fits in with the street around it. They can also show how the public space relates to the building front and the way people move.
Elevated and Aerial Views
To get a clear picture of how the site is organized, elevated and aerial views are the best tools to use. For bigger projects, Aerial 3D Rendering services can show how the proposal fits into its wider area. An aerial 3D Visualization is especially handy when the project covers a large site or has several buildings joined by public spaces. Aerial 3D Rendering for Master Plans gives a related look at how bird’s-eye views can explain larger development layouts.
Site Layout and Development Relationships
An overall site view helps people see how buildings, open spaces, access routes, and movement areas are arranged. If the site layout is a big part of your project, 3D site plan rendering for development proposals takes a closer look at showing development layouts and their key parts. Often, the best presentation uses several viewpoints, not just one image trying to explain every decision. Using views that complement each other in 3D Visualization shows both the full site layout and what it’s like in specific spaces.
How Much Realism Does an Urban Development Visualization Need?
The right visual style depends on how far along the design is and why you’re presenting it. A very realistic image isn’t always the best pick, especially when the project is still being explored. The level of detail in 3D Visualization should match the decisions being made at that stage.
Photorealistic Rendering for Developed Proposals
Photorealistic Rendering works well when people need to see how a finished design will look. Detailed materials, lighting, shadows, plants, and nearby buildings help people recognize the proposed place. It is a good fit for client presentations, development proposals, investor updates, and marketing material. However, realistic images should only show approved information that exists at the time. Details that aren’t confirmed shouldn’t look like final decisions. The point of 3D Visualization is to show the design honestly, not to make open questions look settled.
Conceptual Visualization for Early Planning Stages
Early on, building shapes, space layout, and alternative plans often matter more than finishes. Simple visuals help people focus on the choices being weighed, without hinting that every building or landscape detail is final. For example, an early urban proposal may get more from a clear comparison of building heights, setbacks, open spaces, and movement options than from a detailed image of materials and street furniture. In this case, a conceptual 3D Visualization can share the main planning ideas and still leave room for the design to grow.
How the 3D Visualization Process Works for Urban Development Projects
One of the benefits of a clear process is that it keeps the details of the design, visuals, and files streamlined. The 3D visualization helps you match the design to the surroundings once you check each step.
Reviewing Project Drawings and Site Information
The best way is to start by looking at the architectural drawings, site plans, digital models, reference photos, project requirements, spot details, conflicting revisions, and anything that needs to be cleared up before modeling begins. Taking time to review all of these materials carefully can save a lot of trouble later. It is important to pay attention to things that might be overlooked. Sometimes a detail in the drawings does not match what is in the site plan.
Building the Model and Surrounding Context
The new buildings and the key site features are created using the project information you have provided. Depending on how big the project’s surroundings might also include nearby buildings, roads, sidewalks, green areas and other parts of the city. The aim at this stage is to make sure the overall shapes and how everything fits together in space are correct before focusing on visual details. This helps your 3D visualization have a steady foundation.
Adding Materials, Landscaping, and Lighting
Once the shapes and views are locked in, the visual details come to life. This includes materials, textures, plants, street furniture, and lighting. For landscape-focused projects, the trees, shrubs, paving, and outdoor features should follow the design details you have. If you’d like to see how different landscape views can show outdoor spaces, public areas, and their link to nearby architecture, read our related article, landscape rendering for commercial developments.
Reviewing Drafts and Delivering Final Visuals
Drafts should be checked against the agreed project needs. When you give feedback, be specific about what you’d like changed, whether it’s the shapes, materials, landscaping, lighting, or composition. It also helps to decide early who will collect comments from the architect, developer, landscape designer, and anyone else involved. A clear review process avoids mixed instructions and extra rounds of changes.
Finally, agree on the final files ahead of time, including image formats, resolution, viewpoints, and any extras in the scope.
What Information Is Needed to Start an Urban Development Visualization Project?
Getting the right information ready up front makes the scope clearer and avoids delays you can prevent.
Clients should think about providing:
Architectural and site information
- Latest architectural drawings and elevations.
- Survey information.
- CAD drawings, Revit models, and other 3D files.
- Photos of the existing site and references for the surroundings.
Design and material information
- Approved building materials and finishes.
- Landscape plans and planting references.
- Details on paving, street furniture, and lighting.
- Color schemes and visual references that matter.
Presentation requirements
- The street-level, elevated, or aerial views you need.
- Who the audience is and why you’re presenting.
- Image resolution, file format, and delivery needs.
- Project deadlines and review milestones.
- The person in charge of gathering feedback and approvals.
What you need will change with the size of the project and the design stage. If some details are still only concepts, mark them clearly so the visualization team knows what’s confirmed and what might change. A clear project brief helps the team decide the right 3D Visualization scope, the views needed, the level of detail, and the final files before production starts.
Conclusion
A city project is never just about the buildings. It’s the streets people walk down, the paths that connect one place to the next, and the open spaces where everyone gathers. All of these pieces have to work together, and 3D visualization lets you see that whole picture long before anyone breaks ground. The most effective visuals place real site conditions beside the proposed changes, so people can easily judge what’s different. Pick the views that tell the story best, and match the level of realism to where the design currently stands. An early concept doesn’t need the polish of a final presentation.
If you’re looking for visuals that make your next project easier to explain, McLine Studios is here to help. Whether you need 3D architectural rendering, streetscape or landscape renderings, or aerial views, we’ll turn your drawings into clear, presentation-ready images that people actually understand. Get in touch with McLine Studios today, and let’s talk about what you’re building.
Frequently Asked Questions
3D Visualization means making digital images of proposed developments and the areas around them. It can show buildings, streets, sidewalks, landscaping, public spaces, and other site features together, so people can understand the design in context.
It helps share the design idea, how buildings relate, how the site is organized, how people connect on foot, and what the public areas look like. It also makes complex proposals easier to present to clients, investors, planning teams, and others. When the project is shown with its surroundings, the key design information is simpler to read.
Aerial views show the wider site layout, where buildings sit, road networks, and links to nearby areas. Street-level views focus on what it’s like for people walking, including entrances, facades, sidewalks, and public spaces. Both are useful, since each shows a different side of the same project.
Yes. Existing buildings, roads, plants, and other site features can sit alongside the proposed parts. Labels, notes, and side-by-side views help viewers tell current conditions from planned changes.
It depends on the project, but useful inputs include architectural drawings, site plans, CAD files, Revit or other 3D models, site photos, material references, landscape details, and the camera views you want.