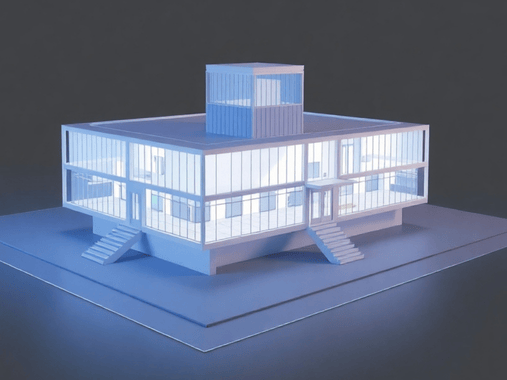
Creating an architectural rendering can bring a project to life, showcasing designs in a way that 2D plans can’t. These renderings give clients a realistic view of a space’s appearance, helping them make better decisions before construction begins.
This guide will walk you through the basics of architectural rendering and provide tips from industry experts to help you achieve professional results. We’ll explore everything from choosing the right software to setting up lighting and textures that bring out the depth and feel of your designs.
Finally, you’ll learn to highlight essential details that make a rendering stand out, like balancing colors and refining details to keep it realistic. Let’s get started on turning ideas into stunning visual realities.
Understand The Purpose Of Rendering
Architectural renderings are visual representations of buildings or spaces that haven’t been built yet. They help bring ideas to life, allowing clients, designers, and builders to see how a project will look when completed. The main goal is to provide a clear picture of the finished project before construction even starts.
Renderings help to communicate the designer’s vision by turning sketches and ideas into a realistic visual format. This way, everyone involved can clearly understand what the outcome will look like, reducing confusion and misinterpretation.
For architects and developers, architectural renderings are a powerful tool to attract and convince clients or investors. Seeing a realistic image of the project can help clients understand the value of the design and feel confident about moving forward.
Gather and Organize Reference Material
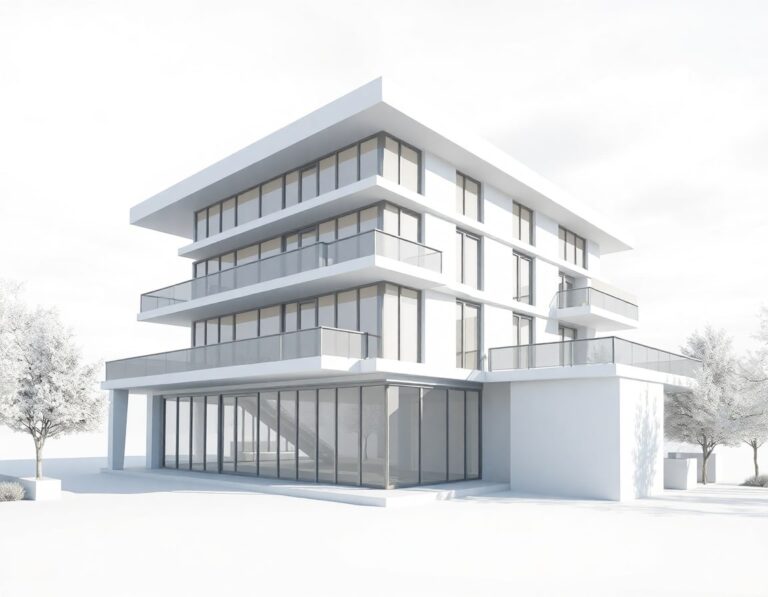
The next step in creating an architectural rendering is to gather and organize reference material. This step is crucial because it provides the foundation for a realistic and accurate rendering. Reference materials include photos, sketches, floor plans, and any other visuals that show details of the building or space.
Collecting reference materials helps the designer understand the project’s layout, structure, and style. For example, floor plans show the dimensions and arrangement of rooms, while photos of similar projects or materials help set the look and feel of the rendering. Gathering these resources ensures that the final image will be true to the design vision and match the client’s expectations.
It’s also important to organize this information in a clear way. Designers often create folders or digital files where they store all images, plans, and notes related to the project. This makes it easy to find and refer back to materials during the rendering process.
Choose the Right Software For Your Project
3ds Max is an excellent choice. 3ds Max is a powerful tool used to create detailed and realistic 3D models and renderings. It allows designers to bring their architectural visions to life with high-quality visuals.
One of the reasons 3ds Max is popular is its user-friendly interface and wide range of features. It offers a variety of tools for modeling, texturing, lighting, and rendering, all in one place. This makes it easier to create and refine detailed architectural renderings.
Choosing the right software is important because it helps streamline the workflow and ensures that the rendering meets the required standards. With 3ds Max, designers can create visually stunning renderings that are both accurate and easy to understand. It’s a tool that makes the process smoother and more efficient, helping you achieve the best results.
Focus On Modeling
Now we have to focus on modeling, which involves creating the 3D shapes and structures that make up the design. In 3ds Max, this means building the walls, floors, roofs, windows, doors, and other key elements of the building. It’s important to get the proportions, dimensions, and details right at this stage, as accurate modeling sets the foundation for a realistic rendering.
During modeling, designers can also add smaller elements like furniture or landscaping, depending on the project. Taking time to carefully model each part ensures that the final rendering looks true to life and captures the essence of the original design.
Lighting Techniques
Lighting is a crucial technique that brings the model to life. In 3ds Max, the right lighting can completely transform the look and feel of the rendering. There are two main types of lighting to consider: natural and artificial.
Natural light, like sunlight and skylight, helps simulate daylight and creates soft shadows. Adjusting the angle, intensity, and color of this light can reflect different times of day or weather conditions. For example, morning sunlight might be softer and cooler, while evening light can have a warmer tone.
Artificial lighting is used to highlight specific areas, such as interior spaces or architectural features. Spotlights, area lights, and omni-lights can add drama and focus to the design. The placement and settings of these lights are key to achieving realistic shadows and highlights, which add depth to the scene.
Apply Realistic Textures and Materials
The next step is applying realistic textures and materials to the model. In 3ds Max, textures and materials give surfaces their appearance, such as the look of wood, metal, glass, or stone. It’s important to choose textures that match the real materials intended for the project, ensuring the design feels authentic.
Textures can be mapped onto the model, and their scale, pattern, and reflections should be carefully adjusted to match real-world properties. Materials also affect how light interacts with surfaces, creating effects like glossiness, transparency, or roughness.
Work on Composition and Camera Angles
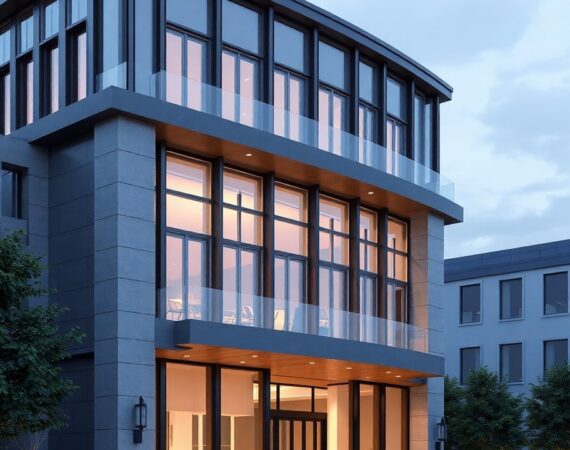
Now, start working on composition and camera angles. This means deciding how to frame the scene to show the most important details in the best way. Just like in photography, the angle and position of the camera can make a big difference in how the project looks.
Choosing the right camera angle helps highlight the design’s key features, whether it’s a wide shot of the building or a close-up of a specific room. Adjusting the camera’s field of view, height, and perspective helps create a more engaging and balanced image. Good composition ensures that the viewer’s eye is drawn to the right parts of the design, making the rendering clear and visually appealing.
Incorporate Context and Surroundings
The next step is to incorporate the context and surroundings of the building. This means adding elements like the landscape, nearby buildings, trees, roads, or any other features that exist around the project. Including these details helps to show how the building will fit into its environment.
With context, the rendering feels more realistic and grounded, giving a better sense of scale. It also helps clients visualize how the project will look in real life, considering its location and the surrounding area.
Refine with Post-Production
The final step is refining the rendering with post-production. This involves making adjustments to enhance the overall look and feel of the image after the main rendering is done. In this stage, you can fine-tune colors, brightness, contrast, and sharpness to make the image more polished and visually appealing.
Post-production tools, like Photoshop, are often used to add finishing touches, such as adjusting lighting, adding reflections, or correcting small details. You can also add elements like people, vehicles, or skies to make the scene feel more lively and realistic. This step helps to perfect the rendering.
Get Feedback
This helps to improve the rendering. After finishing the image, share it with clients, team members, or other stakeholders for their opinions. Feedback can help spot areas that need improvement, whether it’s adjusting the lighting, changing textures, or fixing small details. It’s important to listen to the feedback carefully and make necessary changes to ensure the rendering meets the client’s needs and expectations.
The Key Note
Creating an architectural rendering is a detailed process that requires careful attention at each step. It starts with understanding the purpose of the rendering, which sets the foundation for the entire project. The other important steps it includes are:
- Selection of the right software for your rendering
- Focus on the process of modeling
- Lighting and textures
- Refine with post-production
- Feedback on your renderings
Ultimately, architectural renderings allow clients, builders, and stakeholders to visualize the project before construction begins.
About Author:

Stephen Grey
I am a Marketing Specialist at McLine Studios, driving impactful strategies that enhance our reach in the millwork, 3D rendering, and architectural drafting industries.

