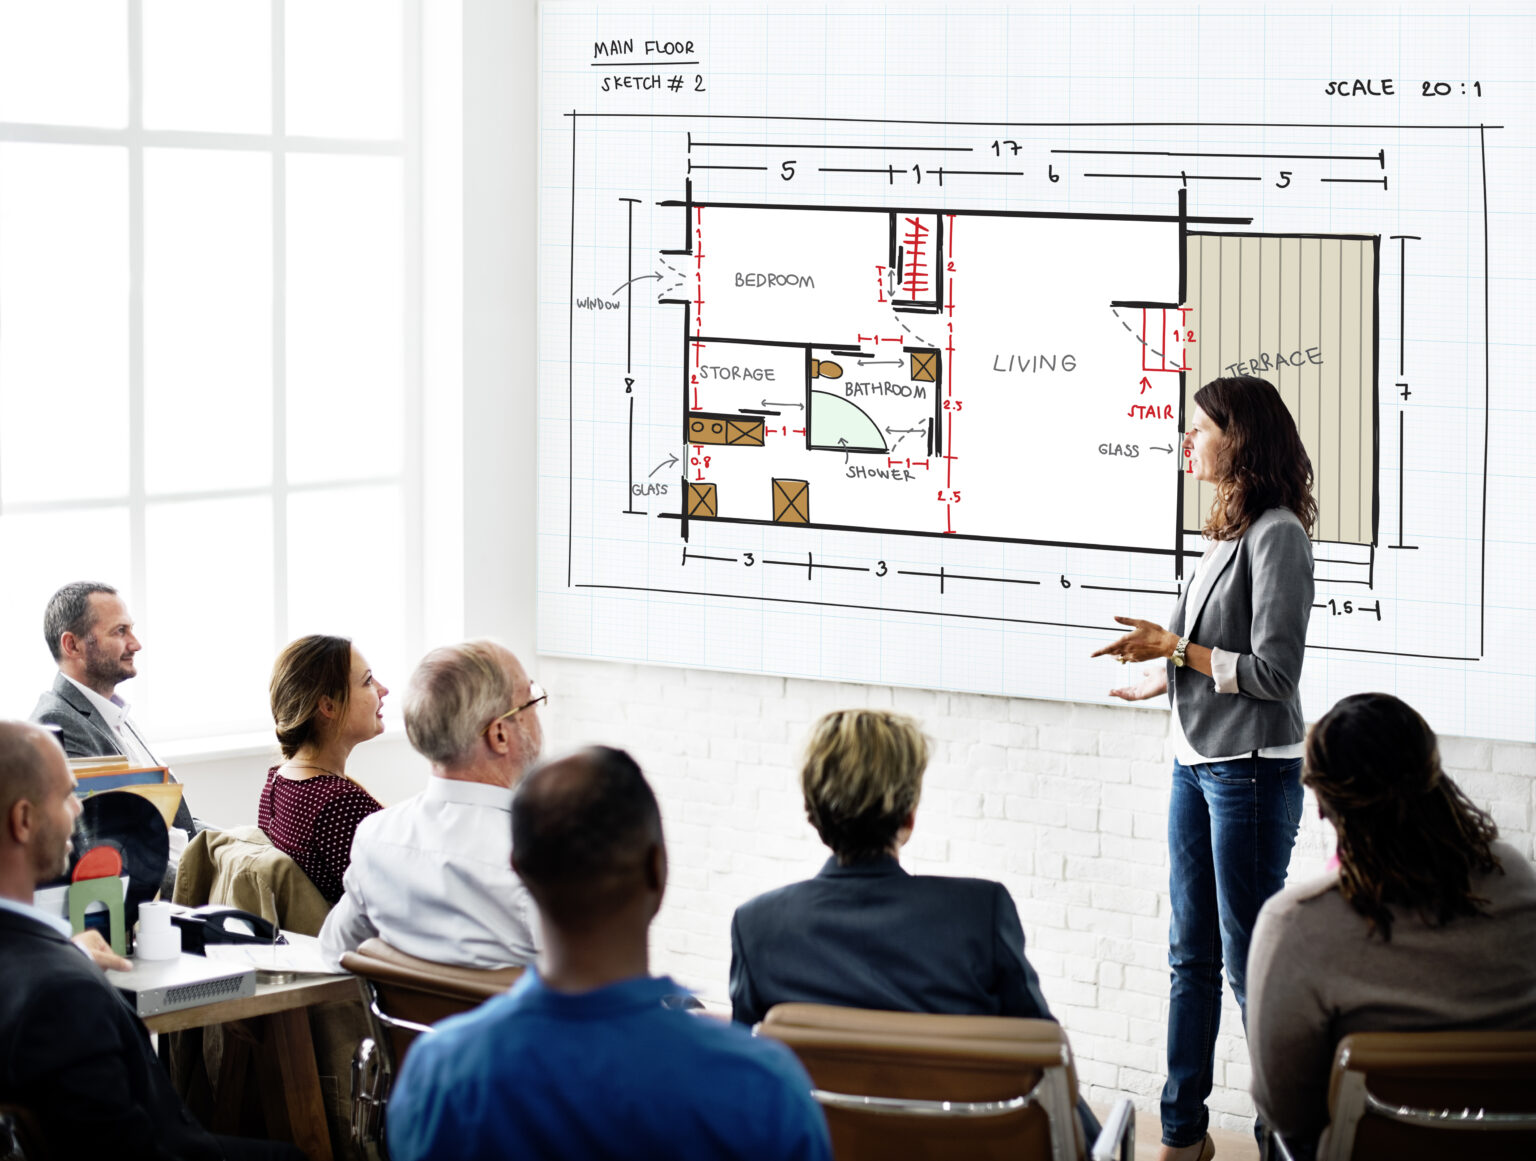
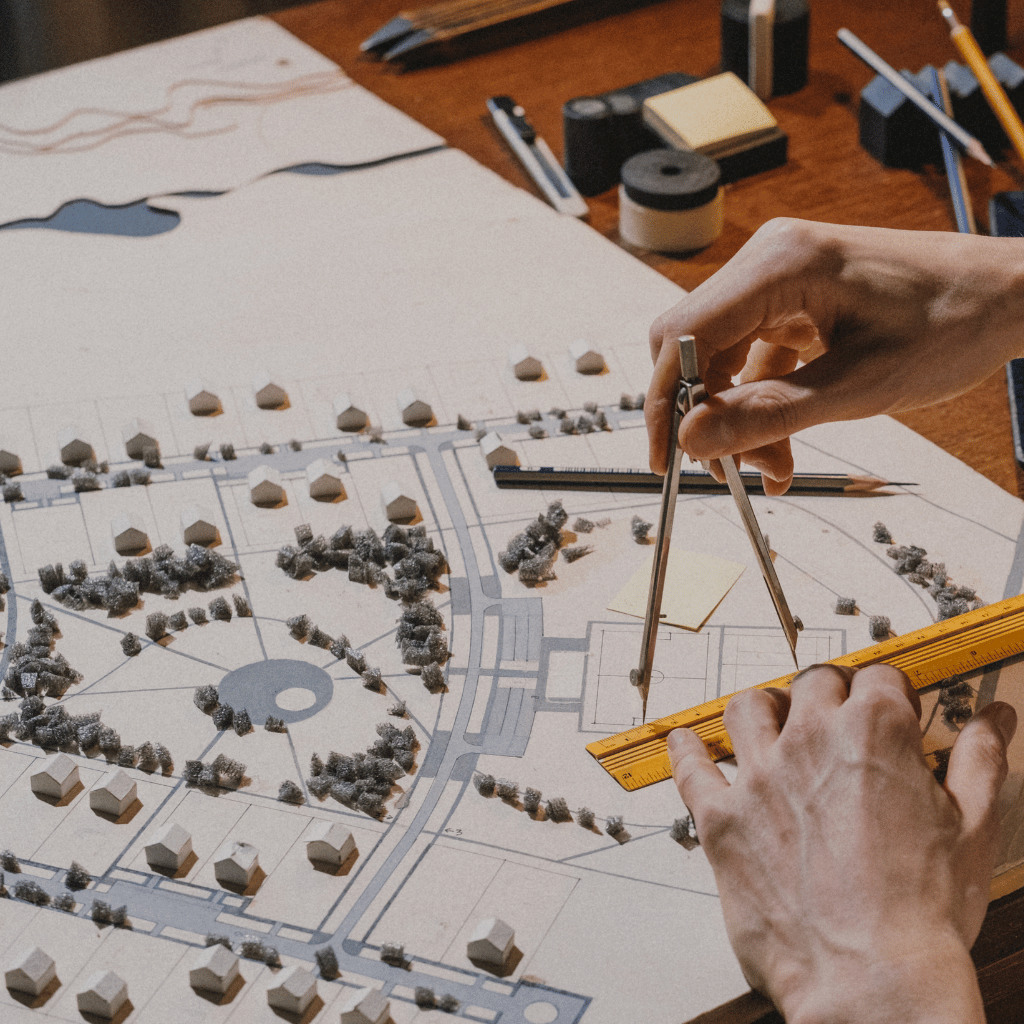
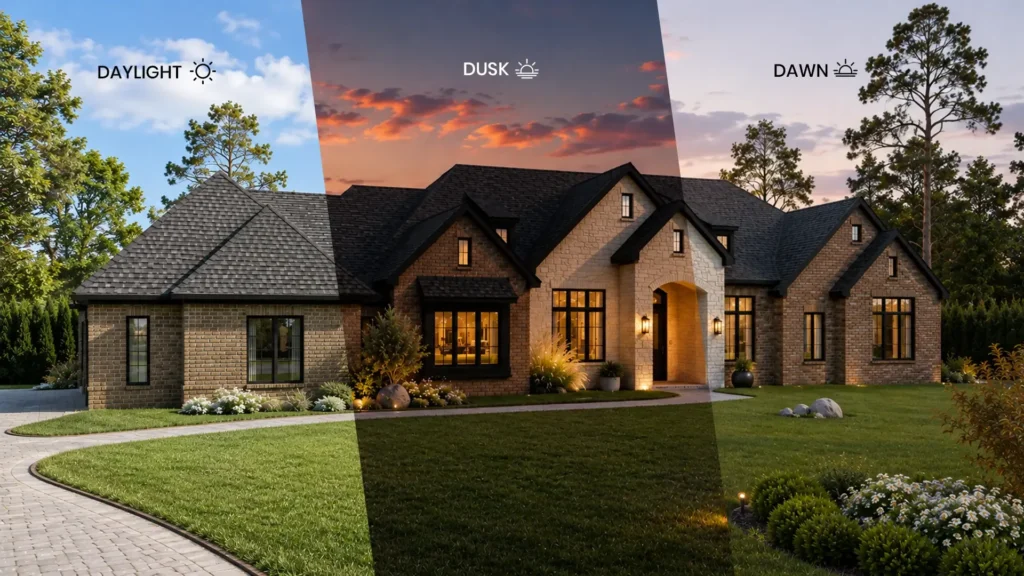
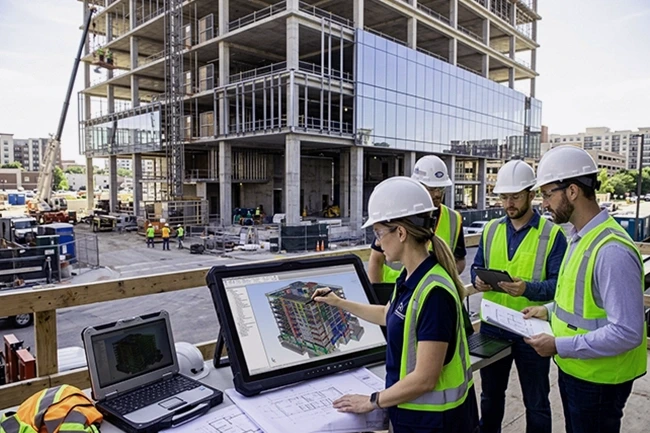
Before your project moves into the Construction Documents (CD) phase, the Revit model needs to be ready. Finished floor plans and elevations aren’t enough. The model should also hold the right geometry, dimensions, building components, material details, and coordination information so your design is communicated clearly. This is where Revit Modeling Services help architecture firms. A well-built Revit model lets you check building elements, coordinate decisions, catch conflicts early, and produce drawings that match each other. But you don’t need to model every tiny component in full detail. The goal is to model what the project actually needs.
Professional Architectural Revit Modeling Services help firms build smart models that match their design intent and drawing requirements. With Architectural BIM Services, your architectural, structural, and MEP teams can also sort out coordination issues before the construction documents are final. In this guide, we cover what to model during design development, which Level of Development (LOD) to aim for, and how Revit Modeling Services
help you prepare coordinated construction documents.
What Are Architectural Revit Modeling Services?
Architectural Revit modeling is the practice of building a project in three dimensions using Autodesk Revit, where every element in the model knows what it is. A wall isn’t just two parallel lines on a sheet. It’s a wall, with a height, a thickness, a material, a fire rating, and a relationship to the floors and rooms around it. That’s the big shift from traditional 2D drafting, where each drawing is its own separate thing, and any change has to be chased across every sheet by hand.
A typical architectural model includes walls, floors, roofs, ceilings, doors, windows, stairs, and rooms. Each carries two kinds of information: the geometry you can see (size, shape, position) and the data you can’t (materials, finishes, manufacturers, performance details). Together, they give the team something far more useful than a picture.
For architecture firms, this means design ideas can become coordinated, working building models without the usual friction. Move a wall, and the plans, sections, elevations, and schedules update along with it. Area calculations stay accurate, door and window schedules build themselves, and design reviews happen against a model everyone can actually walk through. When structural and MEP teams are working on their own models, the architectural model becomes the shared reference point where clashes get caught early, long before they turn into expensive surprises on site.
Many firms choose to work with a dedicated Revit modeling partner because it frees their designers to focus on design while skilled modelers handle the detailed build-out and documentation.
How Revit Modeling Helps During Design Development
Design development is when early design choices become firm. You refine layouts, sizes, materials, wall assemblies, and openings. Revit helps here because changes show up everywhere. If you move a wall, your floor plans, elevations, sections, and rooms can all update. You don’t have to fix each drawing by hand. Using Revit Modeling Services at this stage gives you a more consistent base for your construction documents.
Revit Modeling vs. Traditional CAD Drafting
CAD drafting shows a building through individual lines, dimensions, symbols, and notes. Revit uses building elements that carry information. For example, a door in Revit isn’t just a set of lines. It knows its width, height, type, which wall it sits in, and how it should appear in a schedule. That difference matters when you’re preparing coordinated drawings. CAD is still useful for many technical drawings, but Revit connects your building components directly to your documentation. If you need both approaches, you can combine Revit Modeling Services with CAD Drafting and Documentation Services.
What Should You Model During Design Development?
Not every component needs the same level of detail before CDs begin. Focus on the things that affect building shape, coordination, documentation, and construction decisions.
Levels, Grids, and Reference Points
Levels and grids are the frame of your model. Everything else is placed and coordinated against them.
During design development, set up:
- Building levels and floor-to-floor heights
- Main structural and architectural grid lines
- Finished floor elevations
- Vertical reference points
- Major building offsets and key dimensions
A wrong level or grid can throw off walls, columns, slabs, and stairs. Check these first, before you build out detailed components.
Exterior and Interior Walls
Walls are some of the most important parts of a Revit model. They shape spaces, separate inside from outside, and affect structural coordination and drawings.
Before moving to CDs, define:
- Wall locations and sizes
- Wall thicknesses and types
- Which walls are interior and which are exterior
- Basic material and assembly needs
- Partition locations and major wall junctions
- Openings and where walls meet other elements
If the design is far enough along, add the wall layers too, such as structure, insulation, sheathing, and finishes. But only model exact product specs and installation details if they’re part of the agreed design-development scope.
Doors, Windows, and Openings
Doors and windows affect layout, access, daylight, circulation, and the look of the façade. Set their locations and sizes before documentation starts.
Your model should include:
- Door and window locations
- Widths and heights
- Door and window types
- Sill and head heights
- How openings relate to their walls
- Major glazing and curtain-wall layouts
- Hardware or performance details, where specified
Also check door swings, clearances, and circulation space.
Your door and window families should carry the information needed for schedules. That means consistent type names, correct sizes, and the right project data.
Floors, Slabs, and Ceilings
Floors and ceilings set the horizontal layout of the building. They affect structure, room heights, and MEP routing.
During design development, define:
- Floor and slab locations
- Floor elevations and thicknesses
- Main floor assembly types
- Changes in floor level
- Ceiling heights and layouts
- Major ceiling zones and soffits
- Significant openings and service penetrations
Where the project needs it, separate the structural slab from the architectural floor finish.
For reflected ceiling plans, show the main lighting zones, ceiling features, and coordination areas. You don’t need to model every small fixture.
Roofs and the Building Envelope
Roof shape and exterior systems affect appearance, drainage, thermal performance, and coordination.
Make sure to cover:
- Roof shape and slopes
- Roof elevations and parapets
- Major overhangs and projections
- Skylights and roof openings
- Exterior façade systems
- Curtain-wall locations and main layouts
- Major changes in exterior finish
The envelope should be developed enough to show its shape and how it connects to walls, floors, and structure. Details like flashing, fasteners, and fabrication parts can wait until later, if the project scope calls for them.
Columns and Structural Interfaces
The architectural and structural models need to work together so the building geometry lines up.
During design development, identify:
- Architectural column locations
- Column enclosures and finishes
- How columns relate to the structural grid
- Where beams and slabs meet
- Major transfer conditions
- How walls and columns relate
- Significant structural openings
Depending on your BIM Execution Plan, columns and structural members may live in separate discipline models.
You are not trying to copy every structural member into the architectural model. Instead, coordinate the places where the two meet and make sure your layout doesn’t clash with the structural design.
Rooms, Spaces, and Interior Elements
Room and space data supports area calculations, interior planning, and your drawings.
Before CDs, define:
- Room boundaries and names
- Room numbers and types
- Room areas
- How spaces connect and how people move between them
- Major built-in items
- Important interior partitions
- Significant fixed furniture and equipment
Model interior items based on how much they matter to the design and drawings. For example, a fixed reception desk or built-in cabinet may need accurate geometry, while loose furniture can be shown in a simple way.
Major MEP Coordination Needs
Specialist consultants often handle detailed MEP modeling. Even so, your architectural team should flag the major coordination needs during design development.
Think about:
- Main duct and pipe routing zones
- Mechanical equipment locations
- Electrical rooms and service rooms
- Vertical shafts and risers
- Ceiling service zones
- Penetrations through structure
- Access and maintenance clearances
The aim is to spot space conflicts early and protect your design intent.
With coordinated Architectural BIM Services, your team can review architectural, structural, and MEP connections before they become harder to fix during construction documentation.
Materials, Finishes, and Revit Families
Material and finish information shows your design intent. It also feeds schedules, elevations, and detailed drawings.
Include what’s needed for the current stage, such as:
- Main wall and floor materials
- Exterior façade finishes
- Ceiling finish types
- Door and window categories
- Key specifications for major components
- Useful family parameters
Set up your Revit families properly for size, visibility, type options, and scheduling.
To learn more about reusable components, read McLine’s guide to Reusable Revit Families and BIM Components. It explains how well-built families keep your modeling and documentation consistent.
What LOD Do You Need Before Construction Documents?
Level of Development (LOD) describes how developed and reliable a model element is for its intended use. It tells the project team what they can expect from each part of the model. A common mistake is setting one LOD for the whole model. In reality, different elements need different levels depending on what they do, which discipline they belong to, and how they’ll be used.
LOD 300: Precise Design Geometry
LOD 300 gives more exact size, shape, location, and orientation. This is the level that matters when your design needs to support coordinated documentation. Wall sizes, door locations, window openings, floor elevations, and roof shapes should be clear enough for how they’ll be used in the drawings.
LOD 350: Coordination and Interfaces
LOD 350 adds information about how different building systems connect to each other. It matters when architectural elements must work with structural and MEP parts.
LOD 400: Fabrication and Assembly
LOD 400 is about fabrication and assembly. It can make sense for specific components that need detailed manufacturing or installation information. But it isn’t automatically needed for every architectural element before CDs. Set the LOD you need based on project deliverables and who is responsible for what in the contract.
One more thing: don’t confuse BIM LOD with Revit’s Coarse, Medium, and Fine detail settings. Those settings only control how things look in a single view. They don’t tell you how developed or reliable a model element is. For a deeper look, read McLine Studios’ article on Revit Model Detail Levels and LOD Requirements.
How Revit Modeling Helps You Prepare Construction Documents
Once the key architectural elements are modeled and reviewed, the model can support your coordinated construction documents.
Accurate Floor Plans and Elevations
Your floor plans, exterior elevations, and other views come straight from the model. Because they’re linked to model elements, approved changes can carry through to the relevant drawings.
Building Sections and Wall Details
Sections show vertical relationships, floor heights, roof layouts, wall assemblies, and how parts connect. A well-developed model makes it easier to pull consistent sections and spot places that need extra detailing.
Material and Quantity Schedules
Model elements can hold material and quantity data. This supports estimates, material schedules, and design reviews. Still, check model quantities against your project’s measurement rules and how you plan to use the numbers.
Keeping Drawings Consistent During Revisions
A big advantage of model-based documentation is the link between model elements and views. When an approved change is made, the relevant plans, sections, elevations, and schedules can update with it. This cuts down on mismatches between drawings that were updated separately.
Common Revit Modeling Mistakes to Avoid Before Construction Documents
Even a very detailed model can cause trouble if the modeling requirements aren’t clear.
- Modeling without defined LOD requirements.
- Leaving wall and floor assemblies unfinished.
- Overlooking structural and MEP interfaces.
- Over-modeling small details.
- Using inconsistent Revit families and parameters.
- Starting construction documentation without a model review.
How McLine Studios Supports Architectural Revit Modeling
McLine Studios provides Revit Modeling Services for different projects and workflows. Our team can also help with related Architectural Revit Services when your projects need modeling, coordination, and documentation support. Our Architectural Revit Modeling Services help you build coordinated building models and documentation deliverables based on your project’s needs. Whether you need help with one model or extra capacity across several projects, we are there to help you.
Conclusion
Getting a Revit modeling service for construction documents takes some planning, the right level of detail, and solid coordination between building elements. During design development, walk through your walls, floors, doors, windows, roofs, stairs, structural interfaces, and any major MEP coordination needs. Just don’t overbuild. Model what your deliverables actually require and skip the extra geometry.
It also helps to set clear LOD requirements for each element, set up your Revit families properly, and review the whole model before documentation starts. Do these things and your construction drawing packages will be more consistent and a lot more reliable.
Want to tighten up your architectural modeling workflow? Reach out to McLine Studios to talk through your Revit modeling and BIM production needs.
Frequently Asked Questions
Focus on the elements that define the building: walls, floors, doors, windows, roofs, ceilings, stairs, and rooms, plus the places where architecture meets structure. How far you go really depends on your project and the drawings you plan to produce.
Most teams work at LOD 300 for design geometry and documentation. Certain connections may need LOD 350, and anything headed for fabrication may call for LOD 400. The final word belongs to your BIM Execution Plan, so check there first.
Yes, and it’s one of Revit’s biggest strengths. Plans, elevations, sections, and schedules all come straight from the model. That said, the model doesn’t finish the job on its own. You’ll still need good detailing, clear annotation, and careful review.
Not necessarily. Ask yourself what the element is for: does it show up in drawings, and does it need coordination? If not, a 2D detail, a note, or a line in the specifications can often say it better and save you time.
Because it takes the pressure off. When a project suddenly ramps up, or a deadline starts closing in, you don’t have to scramble to hire or stretch your team thin.